
Resources
From Training to Treatment Day
Ziplyft uses a structured, repeatable workflow while preserving the physician judgment essential to eyelid treatment.
The Workflow
The Ziplyft Treatment Workflow
Seven steps from consultation to follow-up, each one guided by the physician's assessment of the individual patient.
- 1
Patient Selection
Evaluate anatomy, ocular and medical history, healing risk, medications and whether additional eyelid procedures may be required.
- 2
Preoperative Marking
Treatment is planned based on the patient's individual anatomy and desired tissue excision.
- 3
Local Anesthesia
Local anesthesia is standard. Oral sedation may be used when appropriate at the physician's discretion.
- 4
Capture & Compression
Targeted tissue is captured within the device and compressed to support hemostasis.
- 5
Controlled Excision
The guarded blade is advanced through the compressed tissue.
- 6
Closure
Following inspection and drying, tissue adhesive is applied for closure.
- 7
Follow-Up
A 7–10 day assessment is recommended, followed by an additional evaluation at 1–2 months.
Physician Training
Training That Goes Beyond the Device
Osheru's hands-on training covers every stage of treatment. Training can also be tailored based on the physician's recent surgical experience.
- Marking
- Anesthesia
- Device Positioning
- Tissue Capture
- Locking
- Compression
- Blade Control
- Excision
- Closure
- Post-Treatment Care
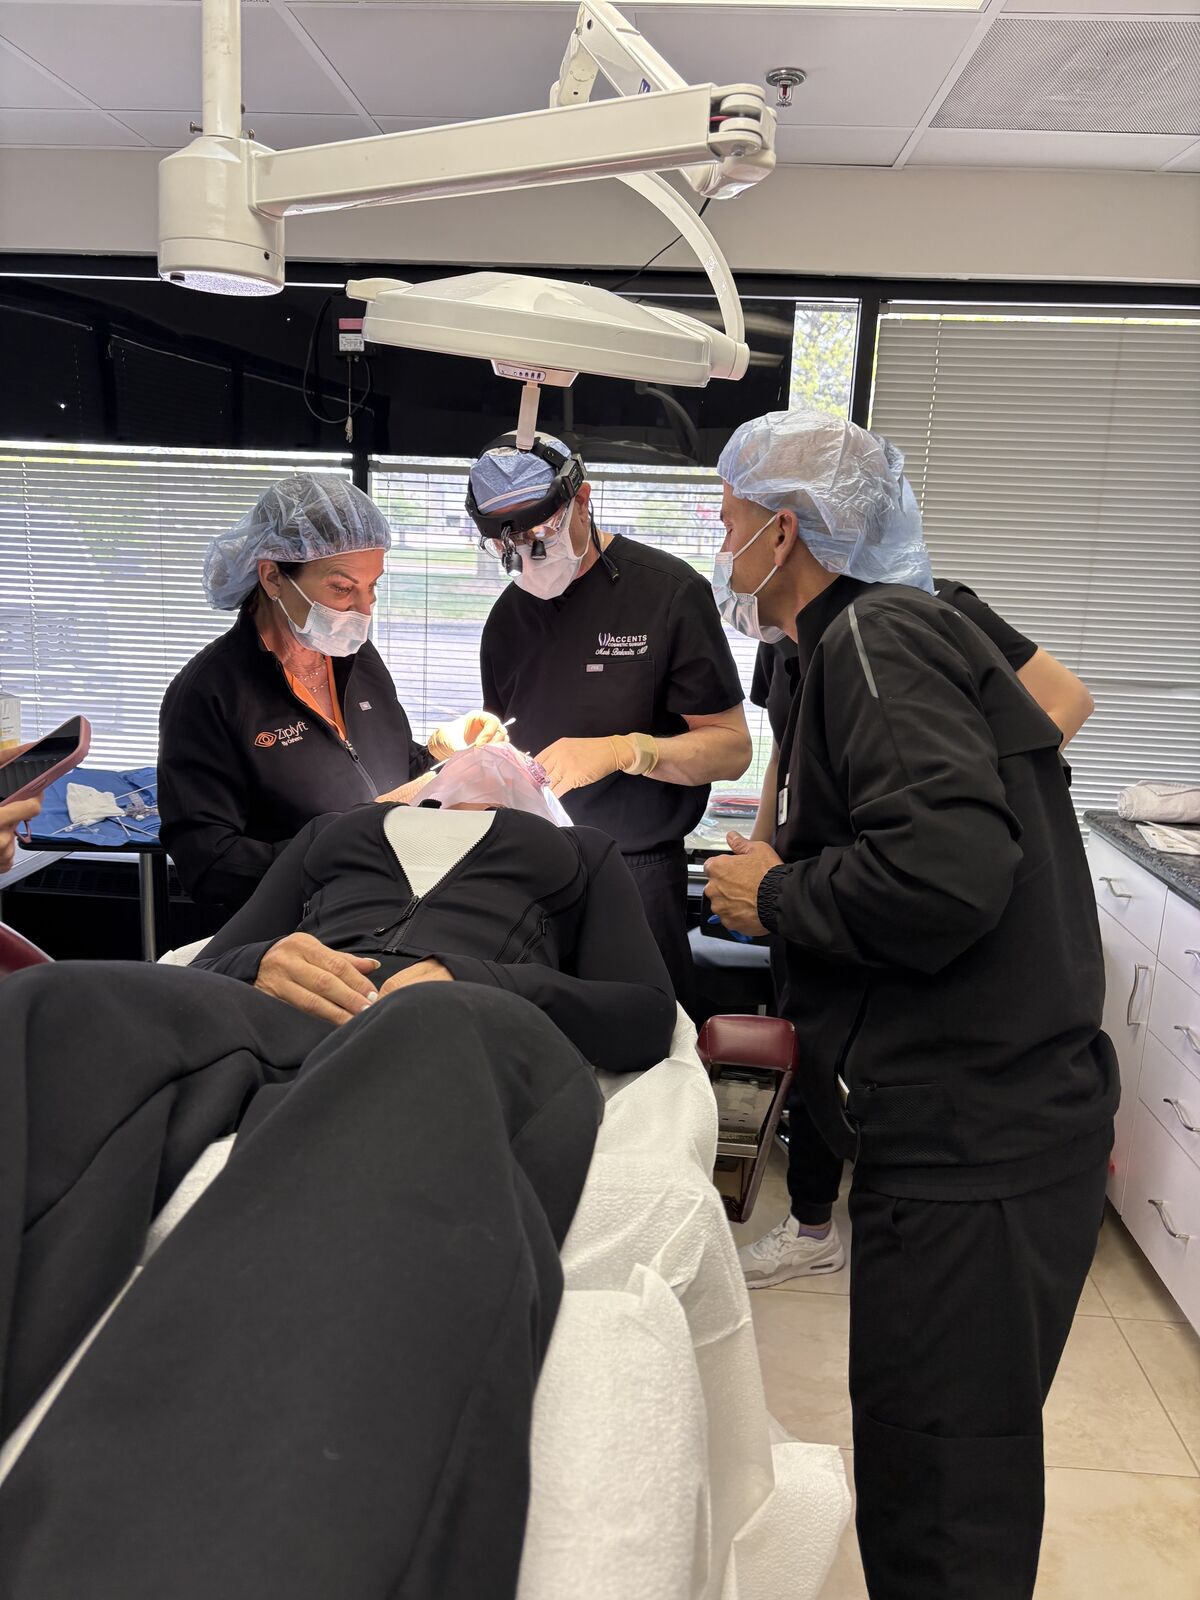
Surgeon Preparation
Materials for You and Your Team.
Technique, setup and treatment-day materials are available to verified providers in the Ziplyft provider portal.
Ziplyft Technique Guide
Device description, procedural preparation, surgical technique and skin-marking appendix.
Provider LoginSetup Checklist
Sterile supplies, medications and prep items for your circulator or surgical assistant.
Provider LoginTreatment Day Reminders
A one-page procedure-room reference for marking, anesthesia, timing and closure.
Provider LoginPre- & Post-Treatment Photo Guide
Standard frontal views and intervals for consistent before and after photography.
Provider LoginLead Contact Expectations
How patient referrals reach your practice, and the recommended response cadence.
Provider LoginTraining & Surgical Videos
Procedure videos and training materials for verified providers.
Provider Login
Access requires a verified medical license. Looking for patient handouts? See Patient Resources.
Get Trained
Ready for Your First Ziplyft Treatment Day?
Schedule hands-on training, or log in to access technique and preparation materials.